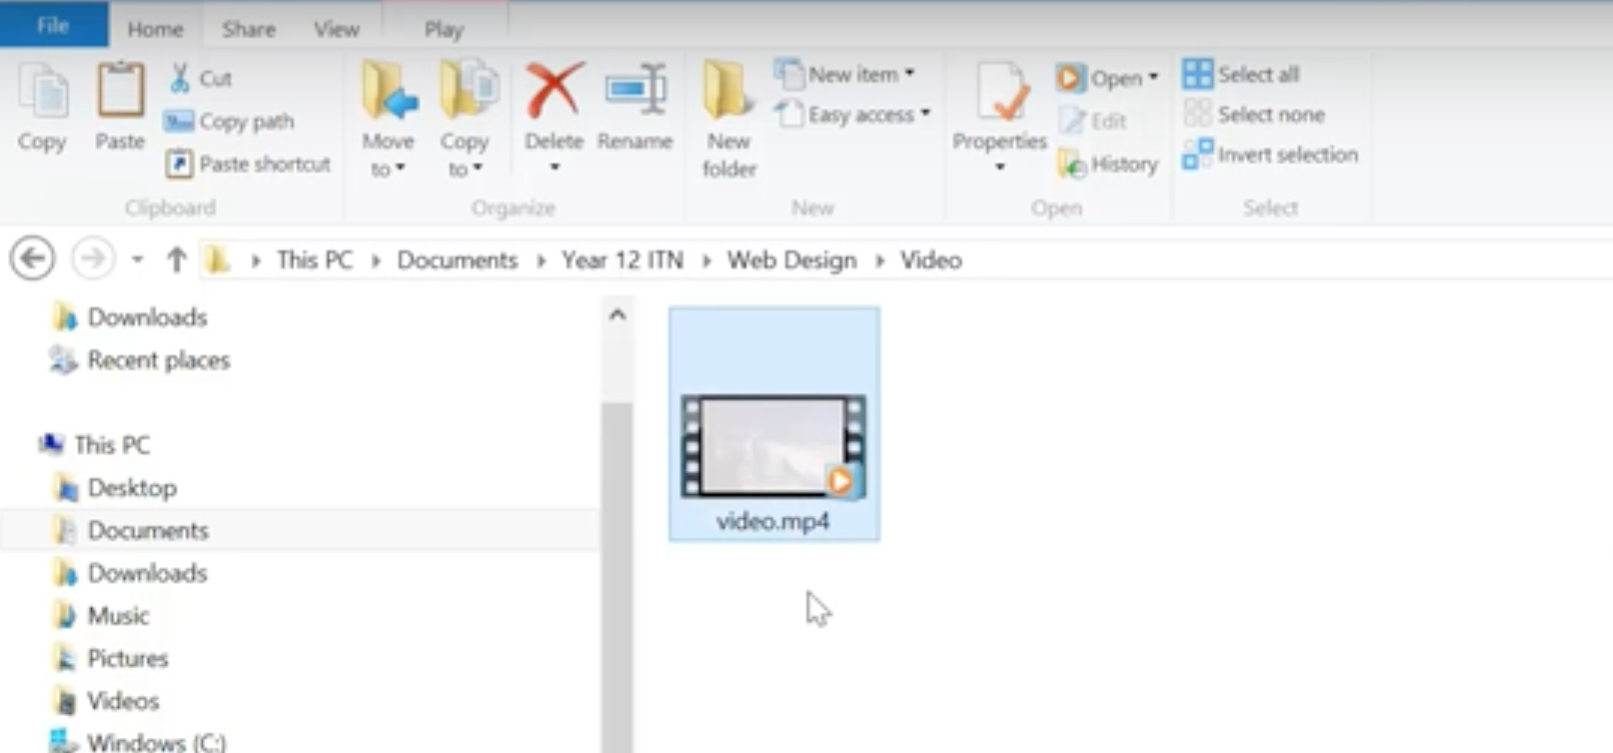
Step 1. Before embedding a video, you need to ensure that it is actually supported by your viewers browsers. The best lossy video you can embed is an MPEG-4, which has the .mp4 ext. This is the most widely supported video type, and is a safe bet for browser support. The image below shows the file name of an MPEG-4 file.
Step 2. Now that you have your video ready, it's time to code the video into your website. The following image is an example of what would be used to insert a video.
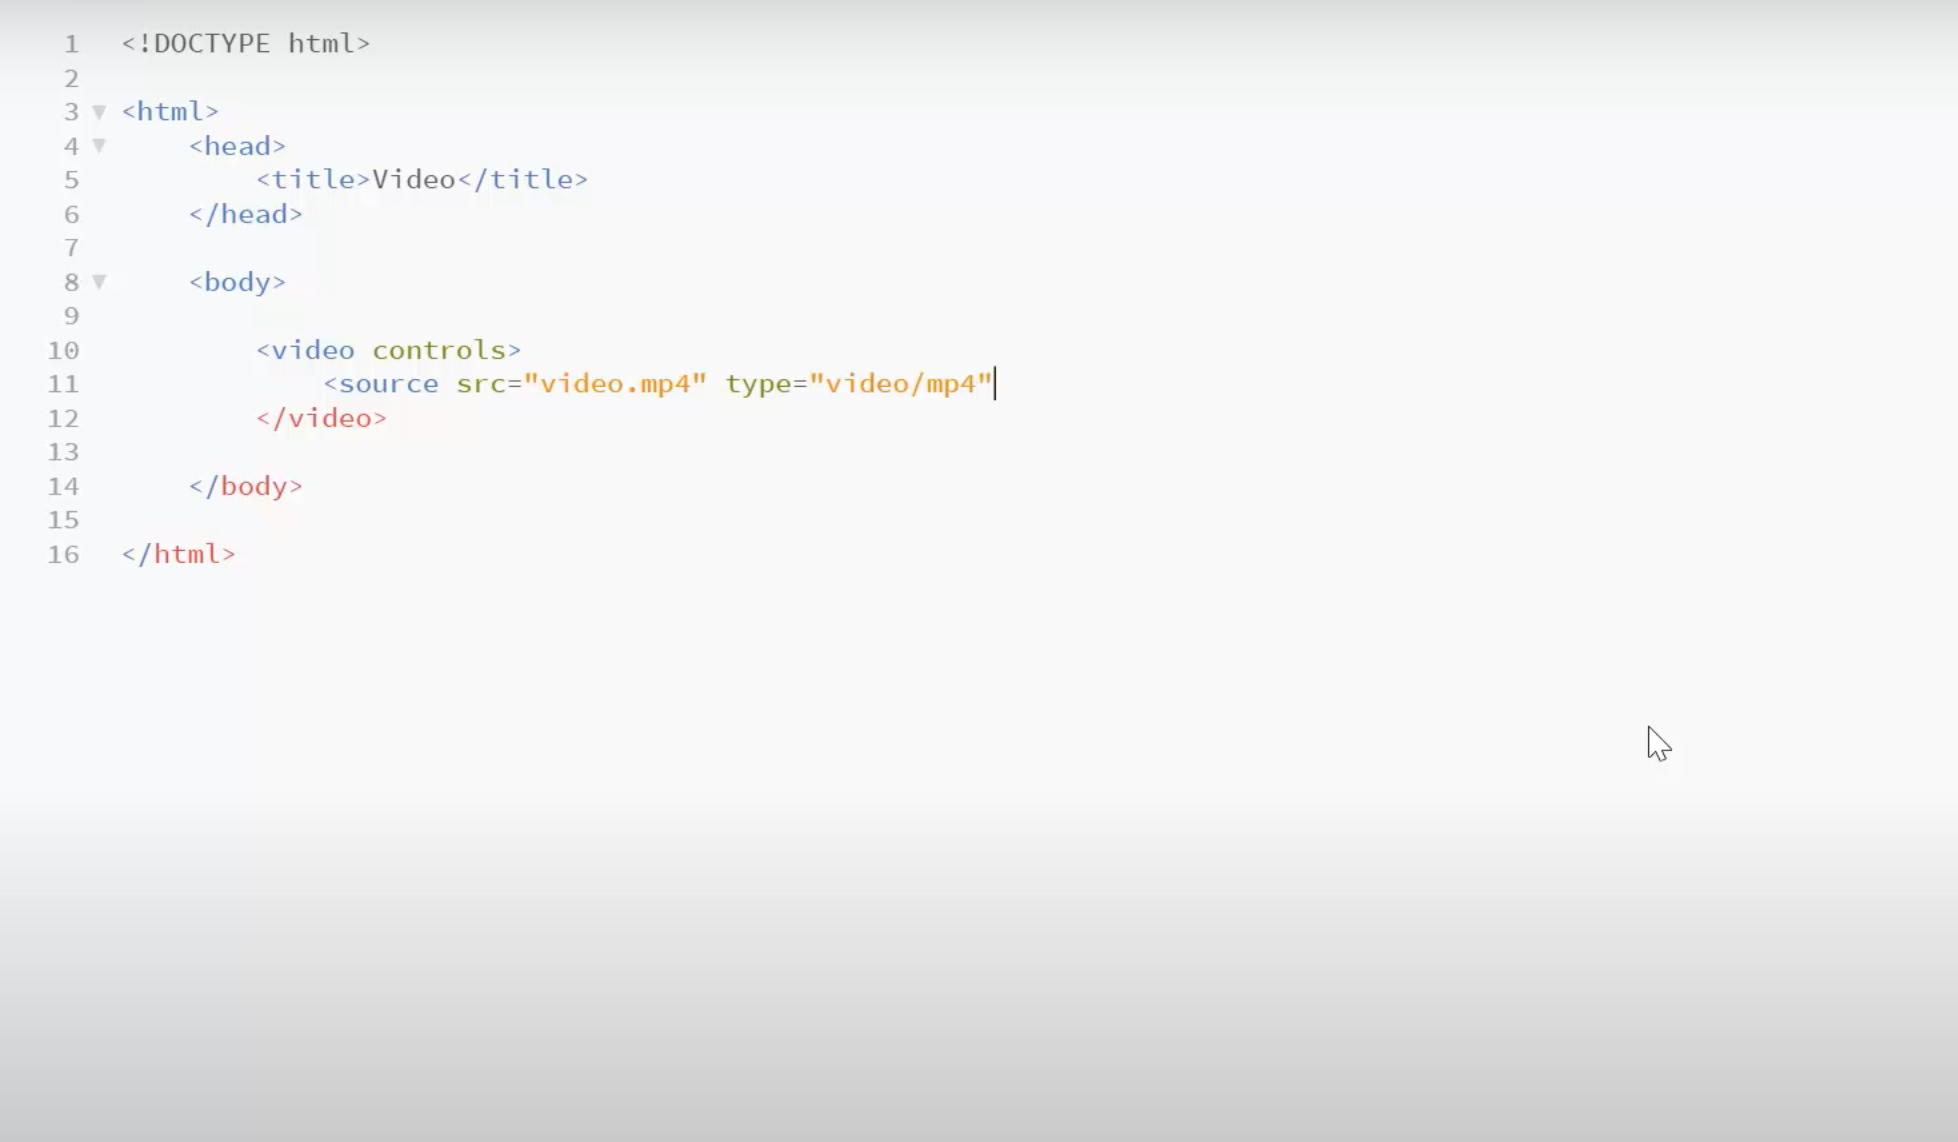
The code is broken into three parts. The video tag itself, where you can place certain attributes. The third part is the source, which is the video file name. Finally, there is the type, where you tell the browser what type of video to expect.
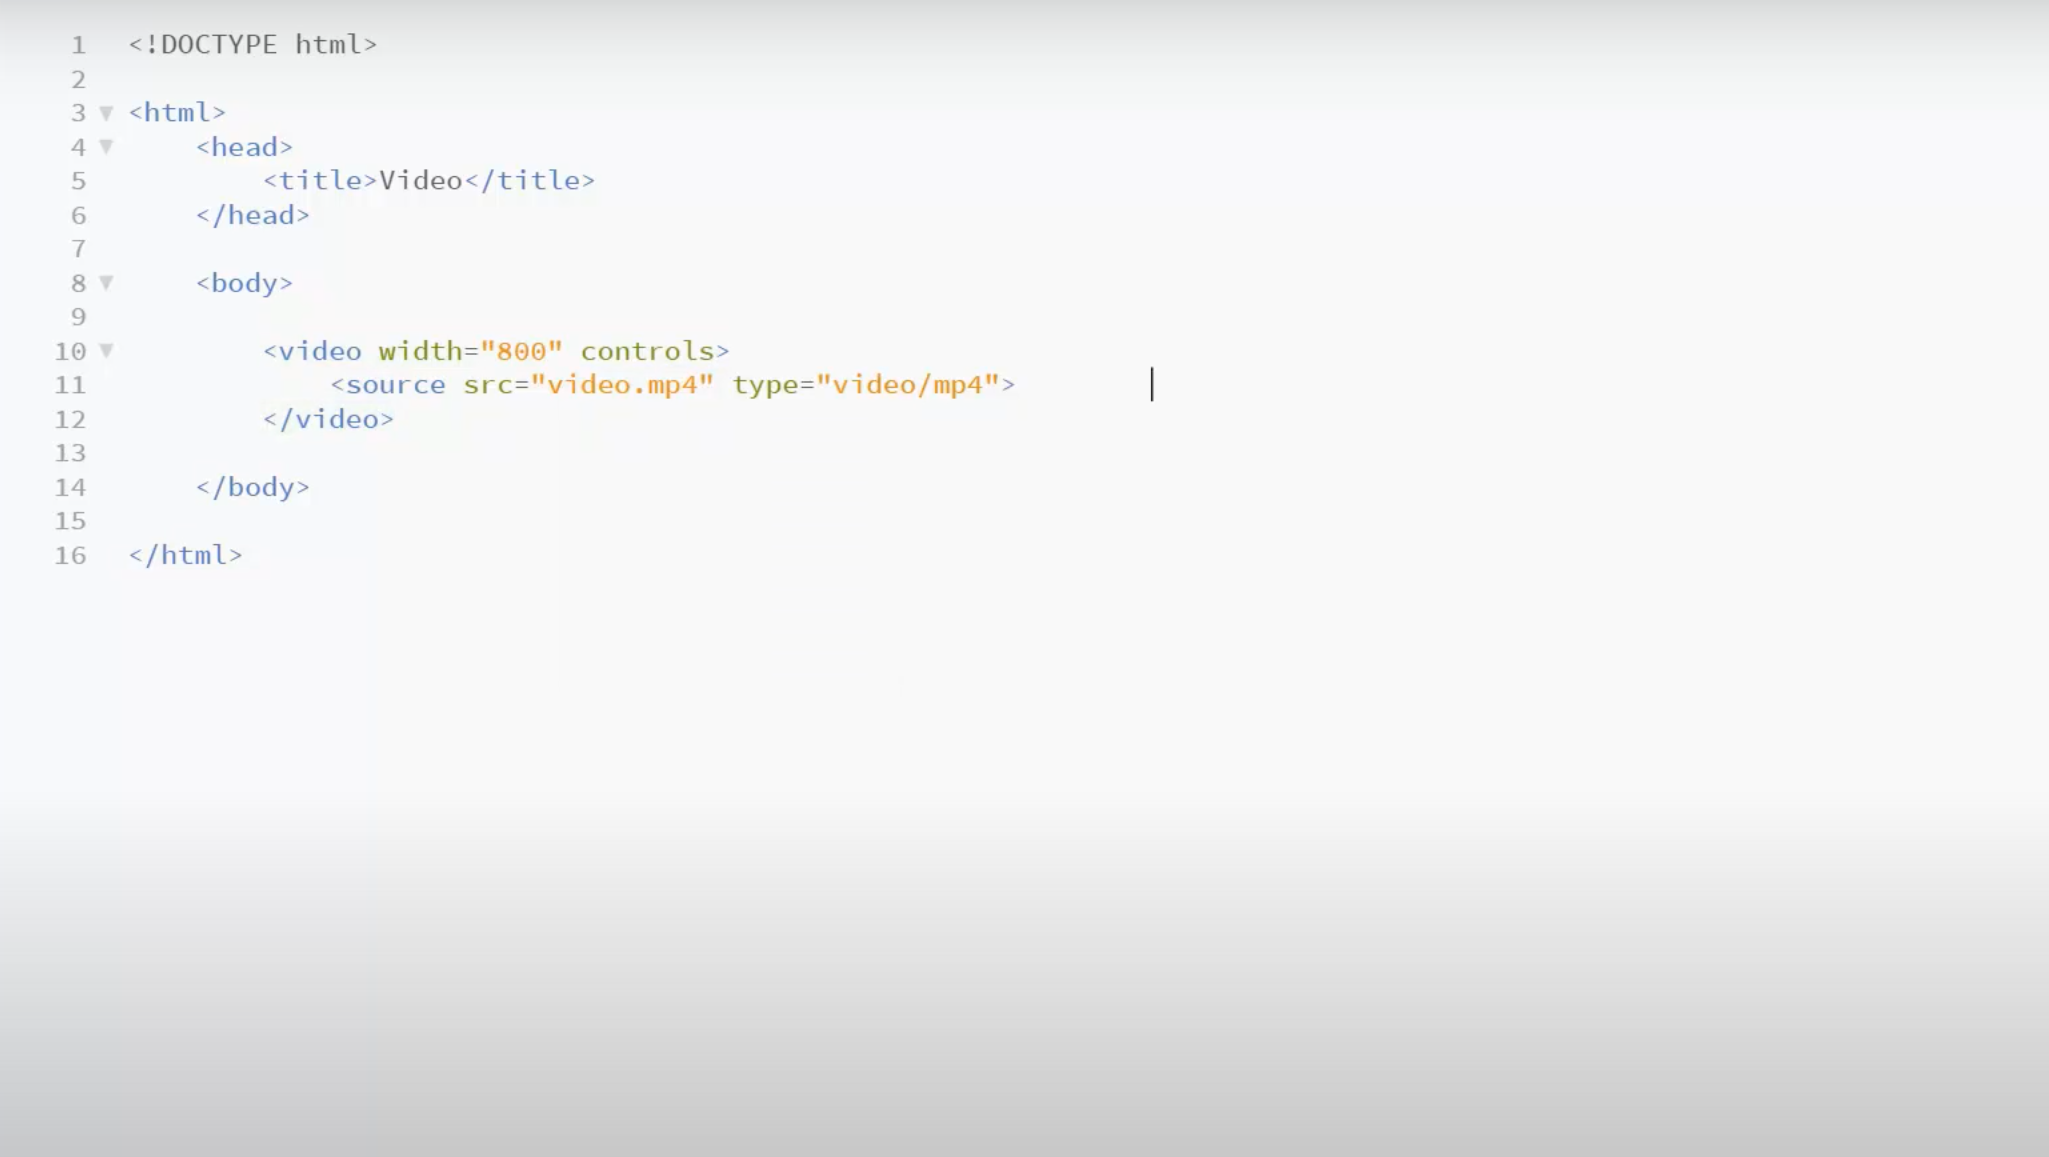
Step 3. The final step in the video process is relatively simple. This is where you can make any final changes to your video. This involves choosing preload values for the video: auto, metadata, or none. Auto downloads part or all of a file, metadata gives you basic info such a video length, while none loads nothing. You can change the window size, but keep it proportional to the original, and never larger, to prevent warping to video. The final part are the Boolean attributes, which are autoplay, controls, loop, and muted. The very presence of Boolean attributes is all you need for the, to work, nothing else. And that's all you need to know to insert a video. The image below shows the width element and the control Boolean attribute that I covered.
Below is a video that shows everything that I covered, and is also where I got the images that you see above.